
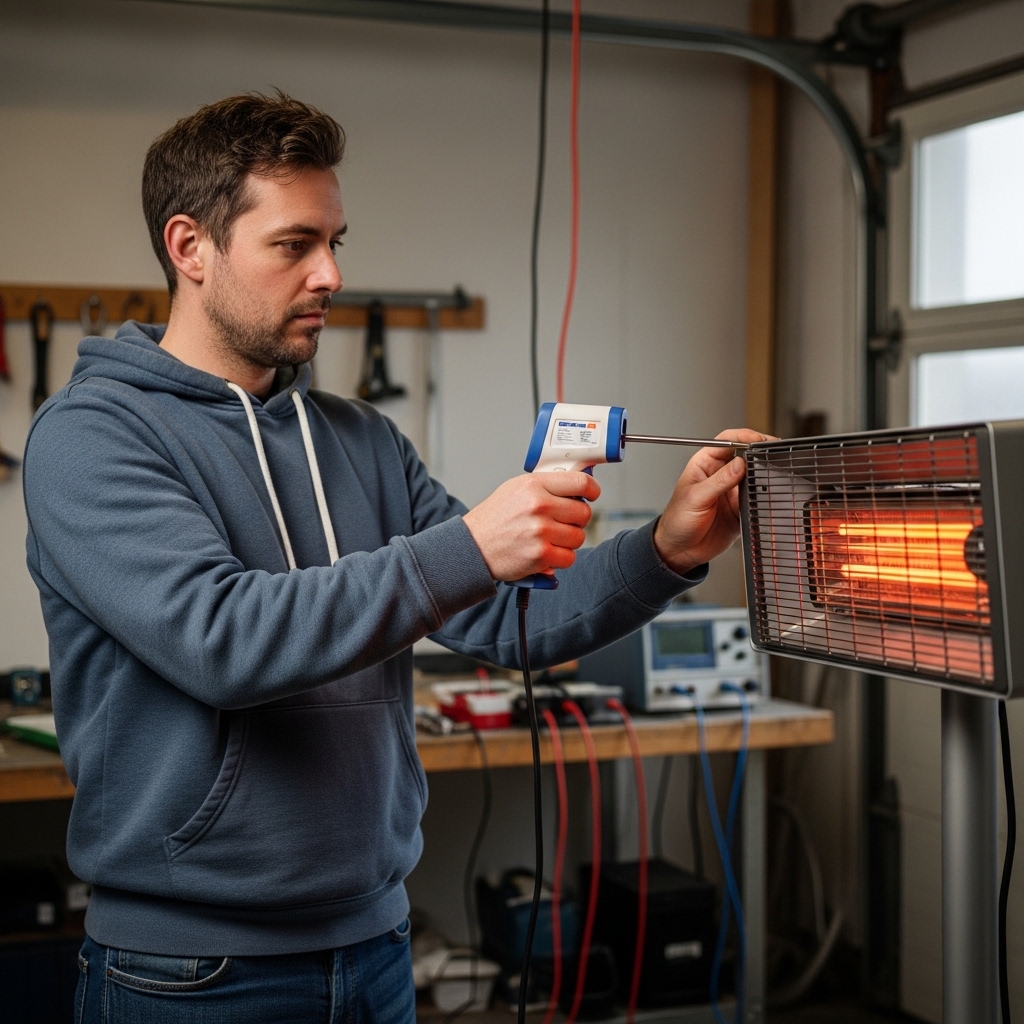

Creating a fireplace mantel starts with measuring your hearth and selecting a surround that fits the space and fuel type. Most homeowners choose a prefabricated unit for its ease of installation and built-in safety features. The process involves checking wall clearance, assembling the frame, and securing the anti-tipping mechanism to prevent accidents. Understanding these steps ensures the mantel looks elegant and functions safely for years.
Many people feel overwhelmed by the choice between freestanding surrounds and wall-mounted options. Each has specific requirements regarding weight capacity and heat resistance. By reviewing the specifications of available models, you can match the product to your electric or gas fireplace. This guide breaks down the practical aspects of installation, from tool preparation to final styling, so you can complete the project with confidence and peace of mind.


Before starting, you must verify that your fireplace type matches the mantel’s compatibility. Most modern mantel surrounds are designed specifically for electric fireplaces and are not rated for direct exposure to open flames from gas or wood units. Checking the manufacturer’s specifications for fuel type compatibility is the first critical step. If you have a gas fireplace, a standard decorative surround may not provide the necessary heat shielding required by local codes.
| Feature | EPICOZY White/Black | HOMCOM Modern | QUW TV Stand |
|---|---|---|---|
| Material | Premium MDF | MDF Frame | Solid/Engineered Wood |
| Load Capacity | 80 lbs | 66 lbs | 250 lbs (Tabletop) |
| Dimensions (L x W x H) | 43.3″ x 9.1″ x 39.7″ | 45.25″ x 9.25″ x 39.25″ | 70″ x 14″ x 32.4″ |
| Fuel Compatibility | Electric Only | Electric Only | Electric Built-in |
| Anti-Tipping | Yes | Yes | Reinforced Base |
Measuring your space correctly prevents fitting issues during installation. You need to account for the width of the hearth, the depth of the room, and the height of the wall above the fireplace. The mantel must be wide enough to cover the fireplace opening but not so wide that it crowds the adjacent walls. Here are the key measurements to take before purchasing any unit.
- Measure the horizontal width of the fireplace opening from side to side.
- Check the vertical distance from the hearth floor to the ceiling.
- Ensure at least 3 inches of clearance on each side of the mantel.
- Verify the depth of the room to allow for safe walking paths.
- Confirm the wall surface is flat and capable of supporting the weight.
Preparing the Space and Tools
Clear the area around the fireplace of any existing decorations, logs, or screens. You need a clear workspace to assemble the components without damaging the finish. Most mantel surrounds arrive in flat-pack format, requiring only basic assembly. The process typically takes between 10 and 15 minutes, depending on the complexity of the design and the number of parts included in the package.
Review the instruction manual before opening the boxes. Identify all hardware pieces, such as screws, brackets, and anti-tipping pins. Lay out the components on a soft surface to avoid scratching the painted MDF. It is helpful to have a second person present to assist with lifting the heavier frame sections. This reduces the risk of injury and ensures the parts align correctly during the initial connection phase.
Assembly and Structural Integrity
Assemble the frame according to the manufacturer’s numbered steps. Connect the side panels to the top shelf using the provided hardware. Ensure that all joints are tight and that the legs are securely attached to the base. The structural integrity of the mantel depends on these connections, especially if you plan to place heavy items on the shelf. Do not skip any screws or brackets, as they provide essential stability.
Once the frame is assembled, check for any wobbling or uneven legs. Adjust the feet if the floor is slightly uneven to ensure the unit sits flat. The anti-tipping mechanism is a critical safety feature that prevents the mantel from falling over if bumped. This is particularly important in homes with children or pets. Follow the specific instructions for installing the anti-tipping bracket, which usually involves anchoring it to the wall behind the mantel.
Installation and Safety Checks
Position the assembled mantel in front of the fireplace. Ensure it is centered and aligned with the hearth. If the mantel is wall-mounted, use a level to ensure it is perfectly horizontal. Drill holes into the wall studs if required by the specific model’s instructions. Avoid drilling into drywall only, as this may not support the weight of the unit and the items placed on it. Use appropriate anchors if studs are not available in the exact location.
After positioning, verify that the mantel does not obstruct the fireplace’s operation. The glass door or screen should open and close freely without hitting the mantel structure. Check the clearance between the mantel and the heat source. For electric fireplaces, the heat output is generally lower, but you should still respect the manufacturer’s recommended distance. If you notice any smoke or unusual heat near the mantel, stop using the fireplace immediately and consult a professional.
Here is a checklist to verify safety before using your new mantel setup.
- Confirm the anti-tipping bracket is securely fastened to the wall.
- Check that the mantel is level and stable on the floor.
- Ensure the fireplace door opens and closes without obstruction.
- Verify that no flammable items are placed too close to the heat source.
- Test the fireplace controls to ensure they function correctly.
Styling and Decorative Options
Once the mantel is installed, you can begin decorating the shelf. The width of the shelf determines how much space you have for displays. A wider shelf allows for larger items, such as framed photos, vases, or holiday decorations. Keep in mind the weight limit of the shelf, which is often lower than the total load capacity of the unit. Distribute weight evenly to prevent tipping or stress on the joints.
Consider the color and style of the mantel when choosing decorations. A white or black mantel provides a neutral backdrop that complements various decor styles. You can use the space below the mantel for storage, such as baskets for blankets or boxes for seasonal items. This keeps the area tidy and functional. If you have a TV stand with a built-in fireplace, ensure the screen is positioned correctly to avoid glare from the flames. The integration of media and heat sources requires careful placement for optimal viewing and safety.
Maintenance and Care
Regular cleaning keeps the mantel looking new and prevents damage. Use a soft, dry cloth to dust the surface weekly. For deeper cleaning, use a damp cloth with a mild detergent, but avoid soaking the wood or MDF. Wipe the surface dry immediately to prevent water spots or swelling. The waterproof finish on many modern mantels makes this process easier, but prolonged exposure to moisture should still be avoided.
Inspect the hardware periodically to ensure screws and brackets remain tight. Tighten any loose connections to maintain stability. Check the anti-tipping mechanism to ensure it is still engaged and functioning. If you notice any cracks or chips in the paint, address them promptly to prevent further damage. Proper maintenance extends the life of the mantel and ensures it remains a safe and attractive feature in your home.
Common Mistakes to Avoid
One common error is ignoring the fuel type compatibility. Installing a decorative mantel on a gas fireplace without proper heat shielding can be dangerous. Always confirm that the product is rated for your specific fireplace type. Another mistake is overloading the shelf with heavy items. This can strain the structure and cause the anti-tipping mechanism to fail. Stick to the weight limits provided in the product specifications.
Skipping the anti-tipping installation is a significant safety risk. Even if the mantel seems stable, it can tip over if bumped. Always install the anti-tipping bracket according to the instructions. Failing to level the mantel can also cause issues, as uneven weight distribution may lead to structural stress. Take your time with the installation process to ensure everything is secure and aligned correctly. For more information on maintaining your fireplace area, see our guide on fireplace covers for draft control.
Creating a fireplace mantel is a straightforward process if you follow the manufacturer’s guidelines and safety recommendations. By measuring your space accurately, assembling the unit carefully, and installing the anti-tipping mechanism, you can enjoy a beautiful and functional focal point in your home. Take the time to check compatibility and clearances to ensure a safe and stylish result.


Write Your Review
No reviews yet. Be the first to share your experience!